Webhook as Output Destination
Utilising webhook links can be used for system integrations, whereby the generated document is sent to a webhook link. It is meant for more advanced users, or developers.
Step 1: Choose Webhook as the output destination
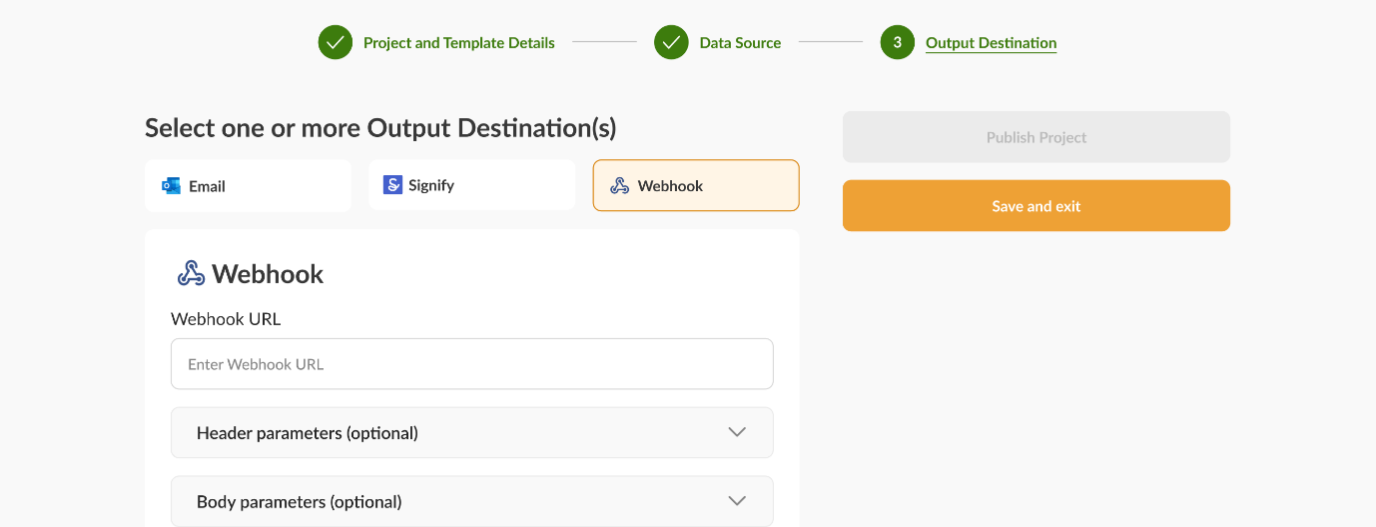
Step 2: Enter the Webhook link where you want to send the document
You can generate your unique link on webhook.site (opens in a new tab).
Step 3: Customising other options
-
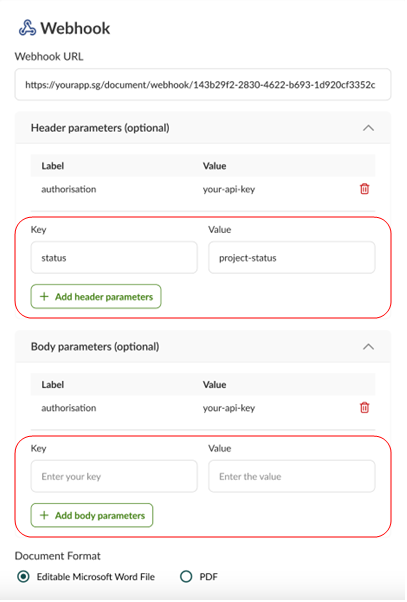
Specifying header and body parameters
These parameters can be configured to pass additional information with the webhook. For example you could use authorization as a header and an API key for handling authentication when doing system integrations, and could send details like form filler’s name on the body.
Apart from adding new header and body parameters in the portal, you could also view the parameters you have already added and delete them where necessary.
-
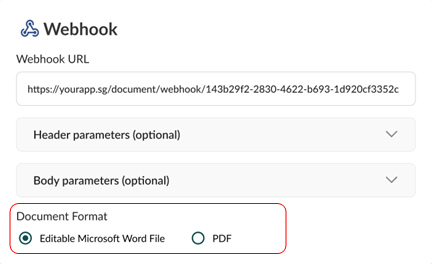
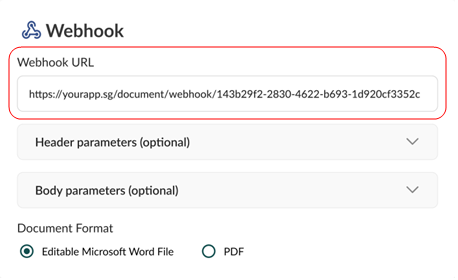
Selecting document format
The output document can be generated in
.docxor.pdfformat.