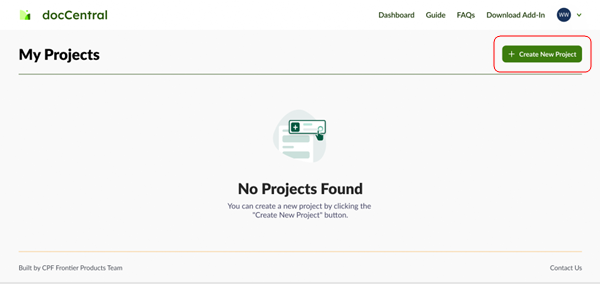
Creating a Project
To create a new project, click on the "Create New Project" icon on the right side of the dashboard. The project creation pages will show up.
The docCentral portal will walk you through the different steps of creating a new project, from adding your project and template details, to selecting your data sources and output destinations. The stepper found at the top of each page shows you at which stage of a project creation process you are in.

Clicking on the steps in the stepper also allows you to toggle between the different steps that you have already edited. Do note that you will not be able to continue to subsequent steps if you have not completed the current step.
Step 1: Input Project and Template Details
Provide a project name and optionally, add a project description.
Upload your completed word template which consists of all your placeholders using docCentral's Word Add-In. For more information on how to create a Word Template, go to this page.
You may specify a custom output document name for your generated documents.
You can also use the placeholders from your Word Template to customise your document name. Typing "@" opens a drop down of all the Short/Long, Date, Number, and Formula placeholders from your Word Document template, and selecting any of them will include it in your customised document name.
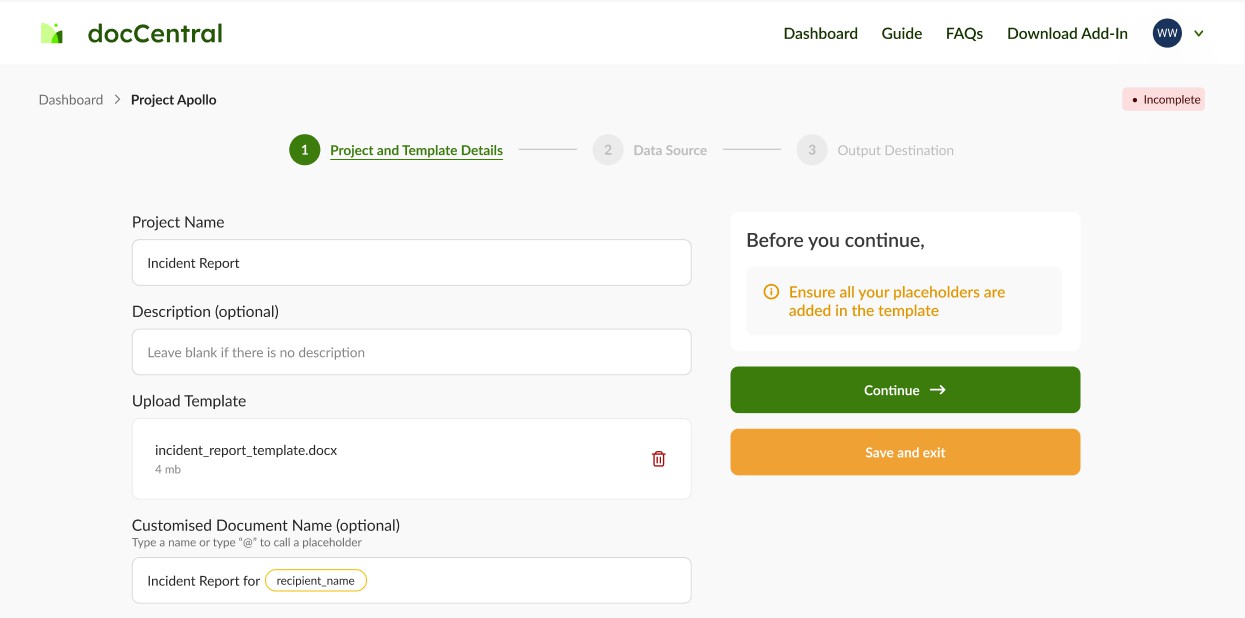
Typing "Incident Report for @recipient_name" will generate the resulting document for a recipient called John Tan as "Incident Report for John Tan.docx" or "Incident Report for John Tan.pdf", depending on the output document format chosen.
This feature enables easy identification of the document that is sent, ensuring clarity and convenience for your end-users.
Step 2: Select Input Data Sources
DocCentral requires at least one data source to generate the documents. Choose one or more of the three supported data source formats - FormSG, CSV files or Webhook.
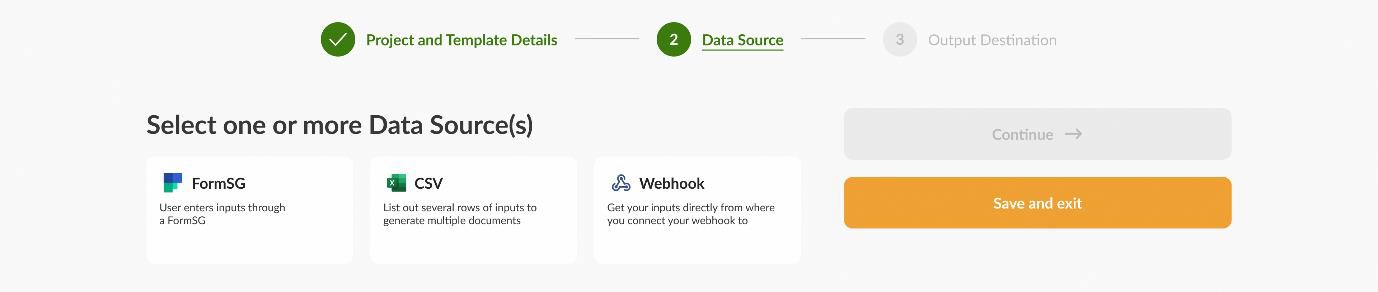
Each of the data sources have various requirements to be met and have different instructions for set up. For more details on each of these data sources and how to use them, go to this page.
Step 3: Select Output Destinations
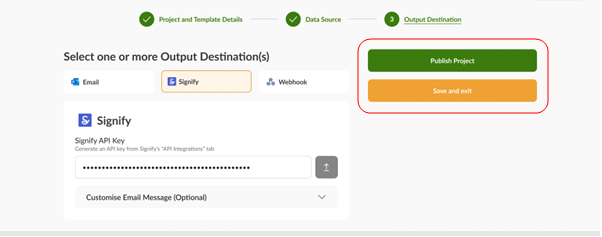
Select one or more output destinations where generated documents can be sent to, from the options of Email, Signify or Webhook.
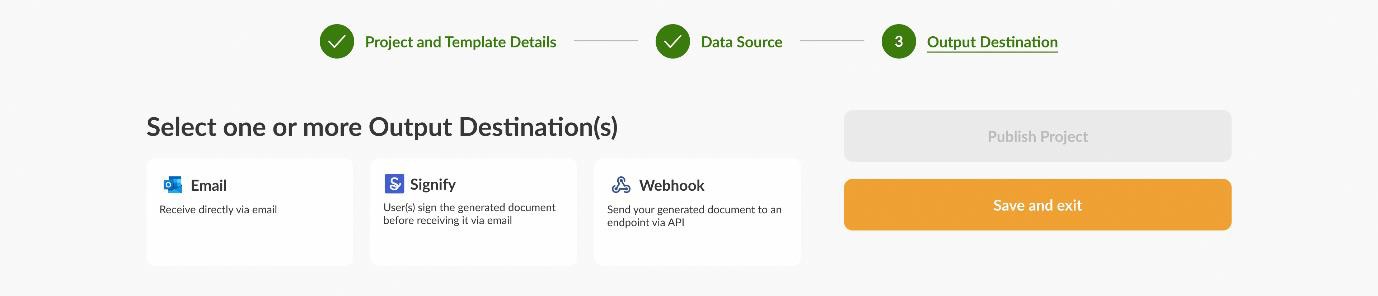
Each of the output destinations have various requirements to be met and have different instructions for set up. For more details on each of these output destinations and how to use them, go to this page.
Step 4: Save and Exit, or Publish Project
The 'Save and Exit' button allows you to save the project as a draft without publishing it. You may return to complete it any time. If you are unable to save your project, you may not have given your project a name.
Once you have provided all required information, the 'Publish Project' button will be available to click. The project will go live, and your end users can start receiving their completed document.